
How to Brew Your Own
Do you like beer?
You might want to consider sitting this one out if you’re answering in the negative. The good news, if you made it past that fiendishly difficult question, is that a love for beer is almost all you need to get started on a homebrew adventure.
Take that passion and, with this article, learn the different brewing methods, some tips and tricks to hone that skill, and a few starter recipes to get your creative juices flowing.
Before you begin
Of course, a love for beer on its own isn’t really enough - you’re going to need some equipment, a bit of know-how, and a rough idea of what you’re doing (which this page should sort out). For homebrewing it’s also fair to say that you’ll need a home, or at least a large covered area of some kind.
If you want to invest in the effort, you can take some big steps and go pro with homebrewing - purchase a mash tun or other special equipment, insulate your brewing station from the weather to protect your batch - but your first few forays are likely to be low key affairs to allow you to get your bearings.
At the end of the journey, you’ll have a hopefully delicious beer that’s got a little part of you in it. You’ll save on dosh, you can make it to your particular taste, you’ll have a great time doing it, and you’ll have something to show off about. Just don’t tell too many people - word travels fast when there’s free beer around.
Homebrew methods
Alright, you’re still with me so far. That means you’re actually considering homebrew, which means we’ll have to start talking about some of the methods involved.
There are four main techniques that you’ll encounter in homebrewing. These are:
- Beer kit brewing,
- Extract brewing,
- Brew in a Bag (BiaB),
- All Grain brewing.
If you’re looking to test the waters a bit with a quick beginner’s guide that involves minimal investment and more training wheels attached, Beer Kit brewing is probably for you. The kit will come with most of the instructions. Otherwise, we’ll be going through each method in detail later on. Briefly, however:
 All Grain brewingAll Grain is the closest to the sort of beer you’d find at a commercial brewery. You’ll have full control over all the steps involved, meaning you can develop a beer to your exact specifications.
 Beer Kit brewingBeer Kit brewing is on the opposite end of the spectrum to All Grain. All the steps are pre-sorted for you, which means you won’t have to put in much effort but you won’t get much control over the flavour either.
  Extract/BiaB brewingThese are the middle children. Some of the more ‘annoying’ steps are down for you, but you still retain some control over the end product.
The basics
Ingredients
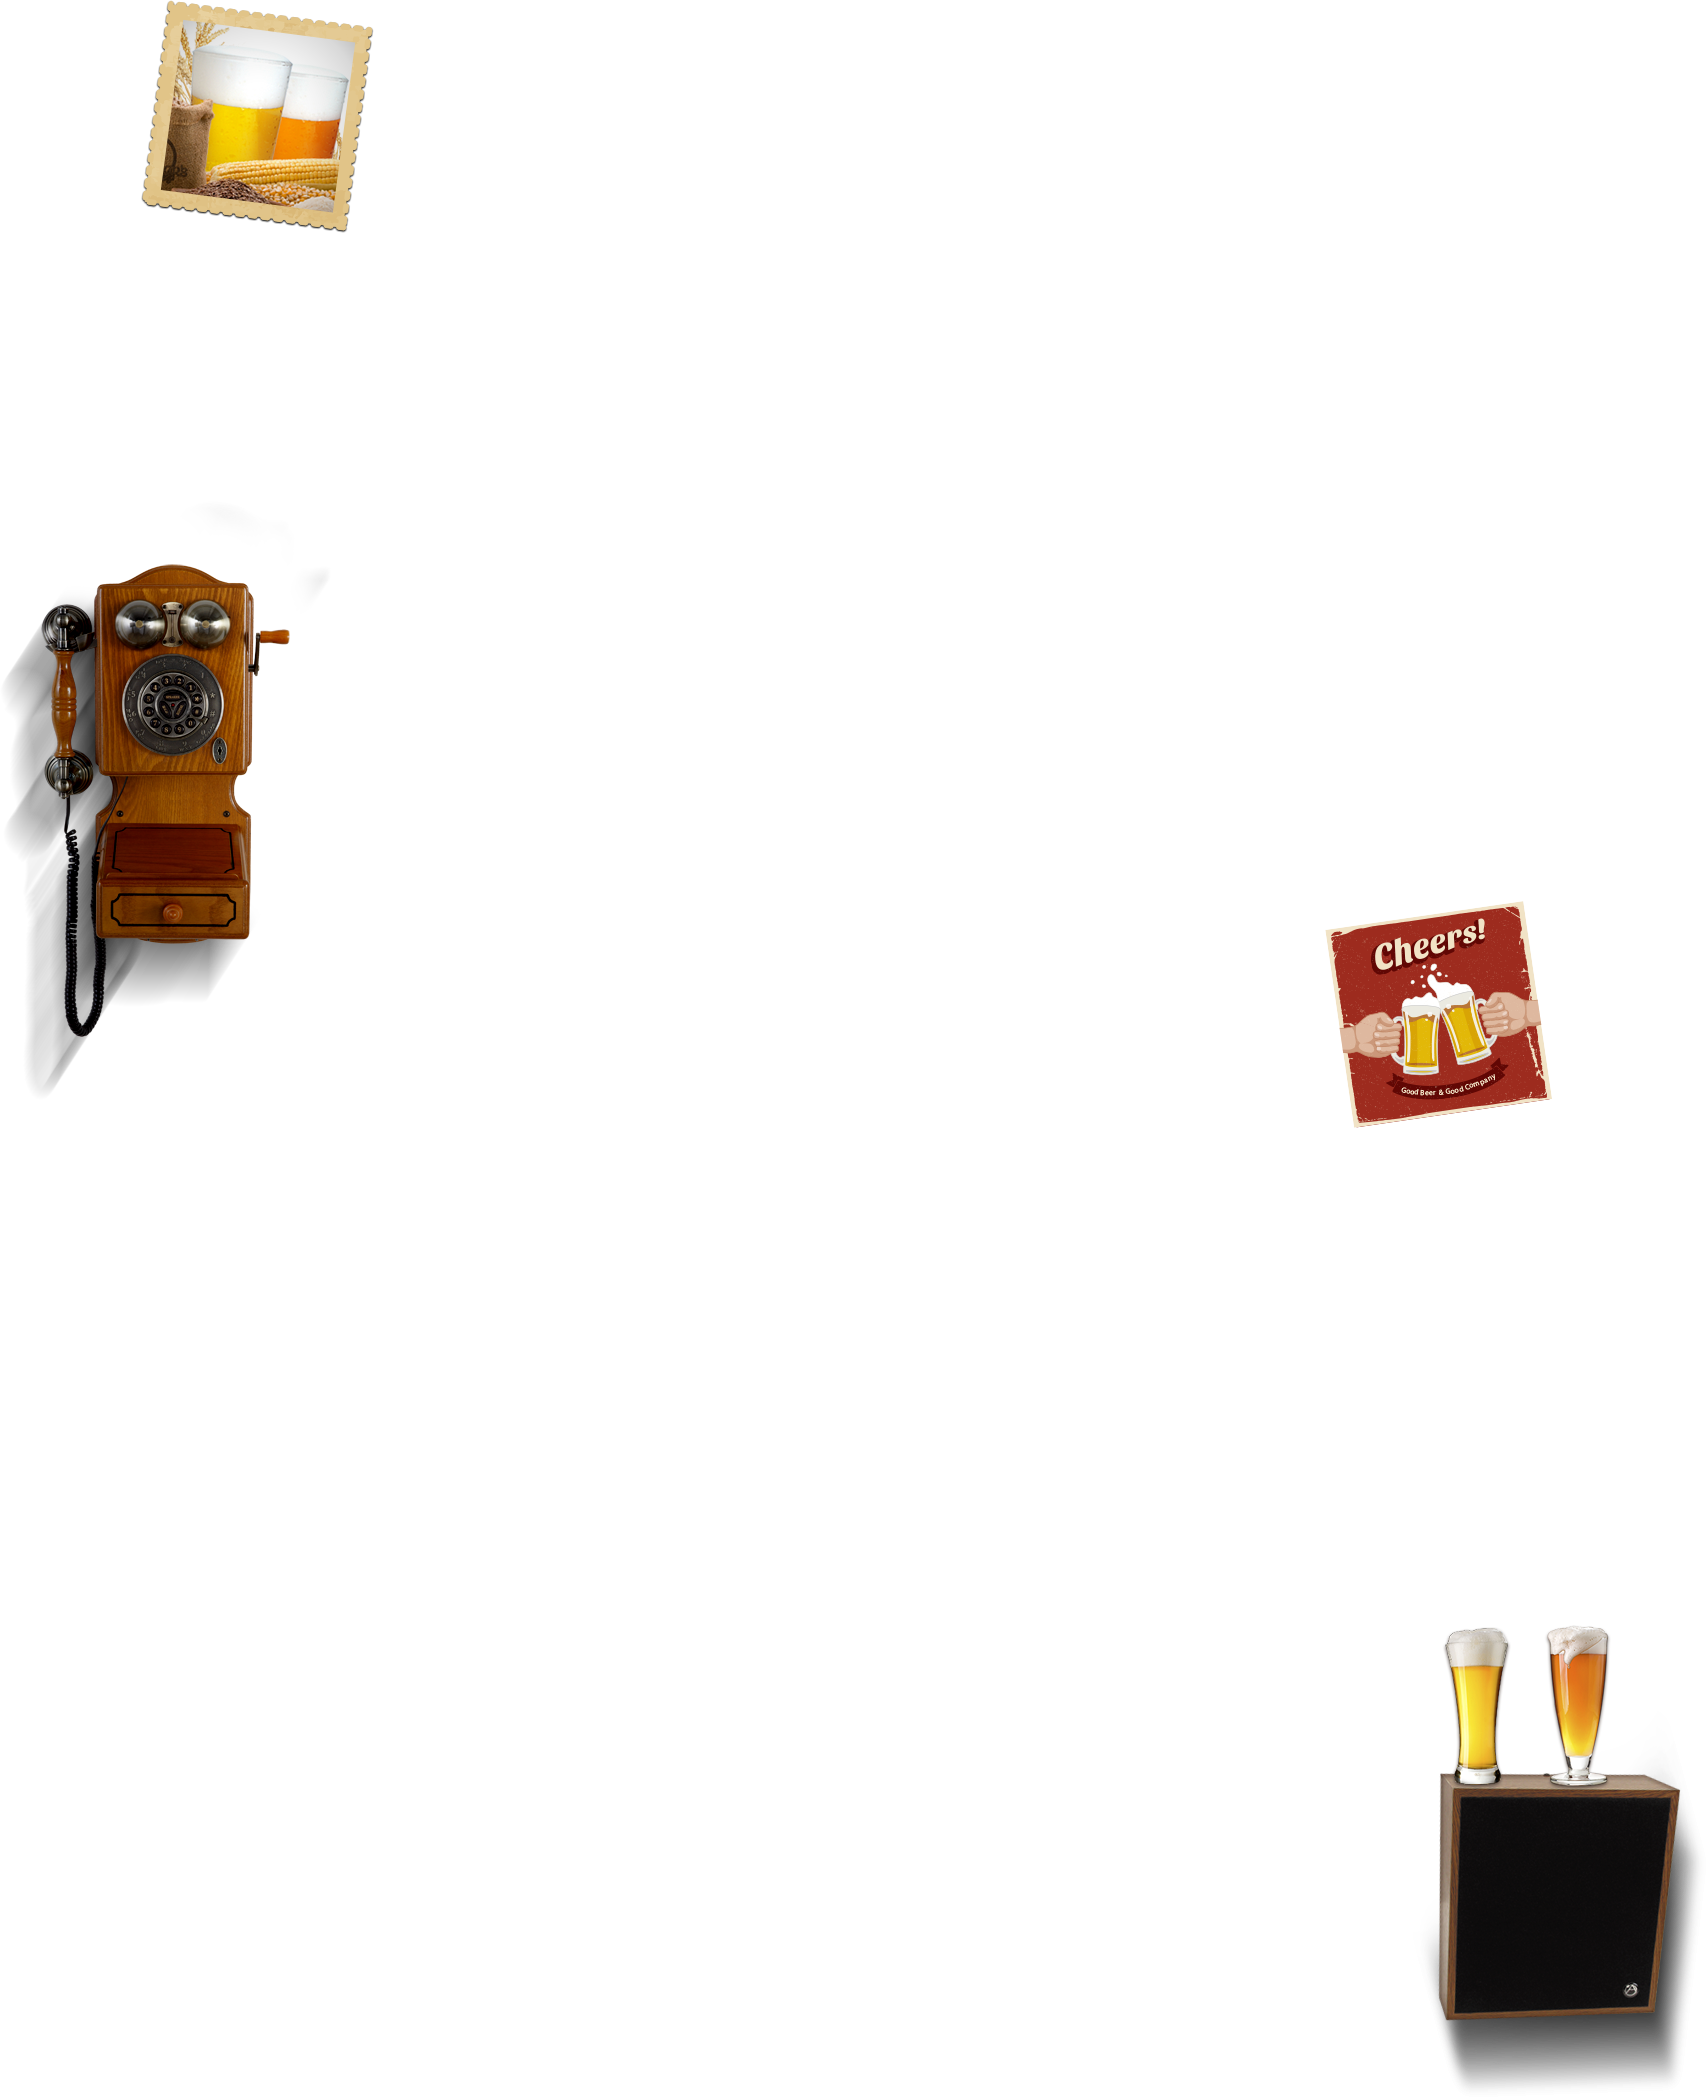
Grain (malt)
Fermenting agent (yeast)

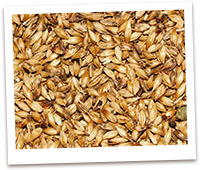
Flavouring agent (hops)
Water

Brewing process
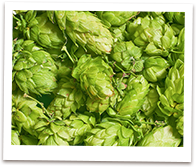
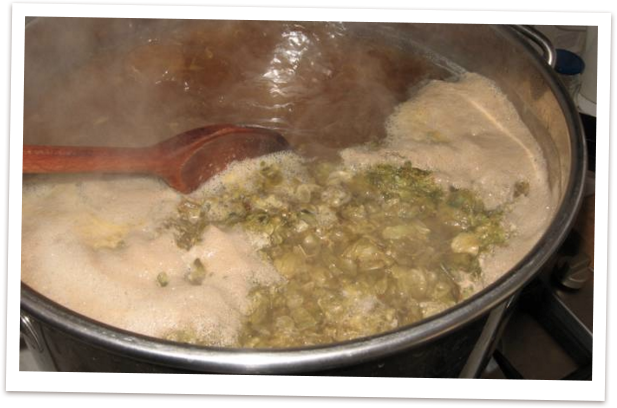
The first step in the brewing process is to create wort (unfermented beer). You do this by taking sugars from the malt (usually barley). Once this is done, the wort is boiled with hops, cooled again, and the yeast is added before leaving it to ferment for awhile. Here’s a good resource if you’re into learning the specifics. Once the fermentation is complete, the wort becomes beer!
There’s usually some sugar added after this process, and then the beer is stored so the carbonation can build better. After that is the very important step of drinking the beer. Can’t forget that.
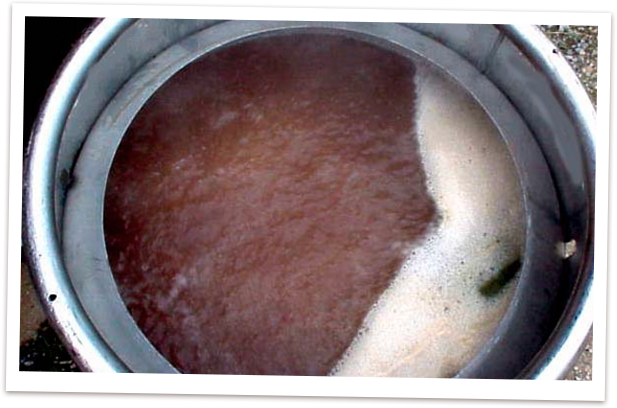
This is what wort looks like. Did we mention you could homebrew in a washing machine if
that’s your vibe? - ARD Garage Doors
Equipment
Some of the brewing steps require special equipment, which is why there are different homebrew methods for different levels of enthusiast. Brace yourself, there’s going to be a fair amount of stuff involved. Luckily a large amount is stuff you might already have:
- Large brew pot (size will differ depending on how much you want to brew),
- Some regular pots, pans, measuring jugs, and weighing equipment for ingredient prep,
- Fermentation bucket (food-grade plastic),
- Fermentation air lock for the bucket,
- Bottling wand/racking cane/syphon tubing for bottling the beer,
- A few plastic bottles for cooling,
- Bottles and bottle caps for the beer,
- Bottle capper,
- Thermometer and hydrometer,
- Some kind of heat source capable of heating a large container. Some stoves might be capable, but you’re likely to need a propane burner if you’re not wanting to carry large containers around the house,
- Brew bag if you choose to use the BiaB method,
- Optional: Wort cooler for quickly chilling the wort after boiling, and
- Optional: Grain mill if you choose to go all out and crush your own grains.
Brew in a Bag
If All Grain brewing is the advanced method, think of Brew in a Bag as ‘All Grain for Dummies’. It’s a simpler method developed in Australia (great!) that requires less of the startup cost of a mash tun. You’ll essentially only need your brew kettle or pot for the initial processes. It’s basically like making tea from a teabag, except with beer.
Just like All Grain brewing, BiaB will allow you to use more specific types of malt - experimenting with Sorghum or Gypsum, for example - but it’s a much easier process to become familiar with.
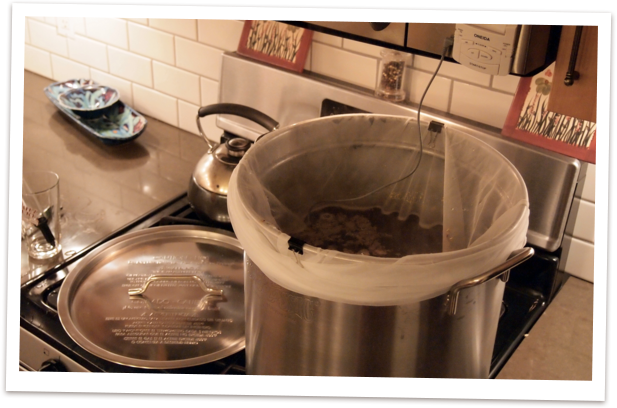
What a typical BiaB setup should look like - ARD Garage Doors (image via Flickr)
Now BiaB has a bit of a storied history. A lot of brewers swore off it initially, thinking that its simplicity must produce lesser quality beers. It’s a popular method, however, and often recommended for beginners. And there’s nothing stopping someone from purchasing the more heavy duty equipment further down the line.
Now the introduction’s all out of the way, here’s how you brew in a bag.
Equipment
- Light weave linen or muslin bag capable of holding up to 15 kg of malt,
- Brew pot,
- Stirring (mash) paddle,
- Heating device, and
- Strainer.
Method
- Place your strainer securely inside the brewing pot. This is so that the malt on the bottom doesn’t get burned,
- Fill your pot with roughly 2-5L of water per kg of malt, and heat to the specifications of your recipe,
- Place the brew bag within the pot like a bin liner, so that nothing spills and you can easily remove it later,
- Gently place the malt in the pot. If using multiple types of grains, you might want to consider putting them in reverse order of size (big grains first),
- Stir the mash gently to avoid overly aerating the mixture, until everything has sunk and soaked,
- Check the heat and adjust if necessary, place the lid on the pot, and leave to sit according to your recipe and desired strength,
- When the time’s up, take the bag out of the wort. Drain the excess fluid back into the pot, but hold it very close to the surface, again to reduce aeration of the mash,
Optional: If you want to squeeze more liquid bang for your buck, leave your malt bag somewhere to drain. In about 20 minutes, re-introduce the drained wort back into the mix (and check the temperature again).
Okay, those are all the basics for the BiaB method. At this stage you have the basic wort all ready for you to add in the other ingredients. It’s at this stage that the other methods (besides All Grain) begin, so you can see that you have a lot more control over the ingredients and specifications of the malt recipe.
All the methods are the same from here on out, so head on over to the final section, Boiling and Fermenting to finish up.
Extract Brewing
Extract brewing is another simple way to homebrew. It involves converting extracted malt into wort. The ingredients required are a little pricier than those for All Grain or BiaB brewing since the refining is already done for you, but that’s the reason why it’s a lot simpler. Plus, it’s a little more respectable than a brew kit.
There are three main types of Extract brewing:
- No-Boil - In this method you simply steep some malt extract in hot water for 15 minutes, add more water to the recipe, and cool it before proceeding,
- Concentrated - This method involves steeping specialty malts in malt extract, dissolving a couple of gallons of water into it. This is only used for dark beers, however,
- Extract Late - Here you get a little bit of both. Hold onto half the wart and use the Concentrated method on the remainder. Right near the end add in the final half for 15 minutes, cool, and continue.
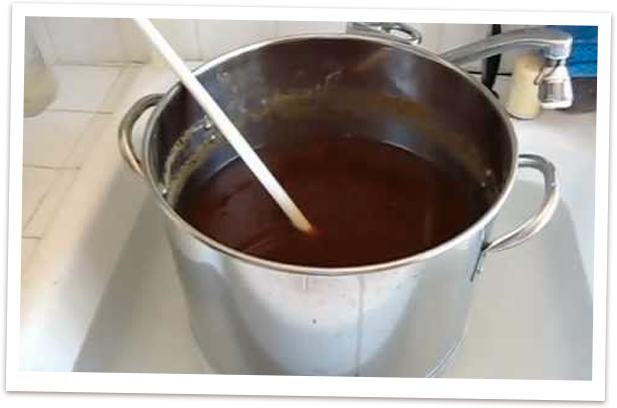
A basic extract brew procedure in the process - ARD Garage Doors (image via YouTube)
Equipment
- Malt extract
- Brew kettle,
- Heating device.
Method
- Heat water according to recipe,
- If using No-Boil brewing, add all the extract and stir thoroughly before letting it steep for 15 minutes,
- If using Concentrated brewing method, add all the extract as normal but with half the water. Once steeped, add the other half according to recipe strength,
- If using the Extract Late method, add half of the hops to half the water. 15 minutes before completion, add the other half and continue with Concentrated method.
Regardless of which method you use, you’ll end up with a wort. And with that, head over to the next section where we’ll talk about boiling and cooling it.
All Grain brewing
Now this is a method for the adventurous. It takes the most amount of work, and with that come more opportunities to subtly or overtly influence the taste of the final product. For better or for worse, mind you, since there’s also more opportunity to completely mess it up.
The main appeal of All Grain brewing is that you’re starting from scratch, which means that you can use the ingredients that you want at every stage (for a lesser cost than buying them pre-made, too!)
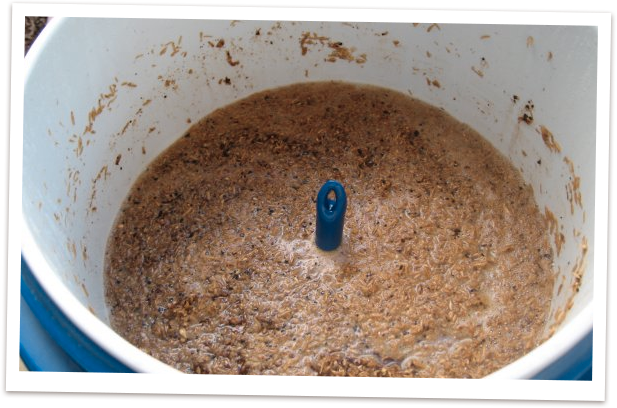
All grain brew requires dedication but delivers a beer brewed to your tastes -
ARD Garage Doors (image via YouTube)
If you’re looking to make some special beer and create something that’s got more of your touch than a pre-arranged ingredients list, All Grain is for you (is the world really ready for that Sorghum and Rhubarb mix, though?) Just know that it involves more time investment than the other methods, and that not paying proper attention will get you a godawful brew at the end.
Equipment
- Three large containers, at the very least - one to use as a Hot Liquor Tank (HLT), one Mash Tun with a strainer, and one as a Brew Kettle,
- Stirring (mash) paddle,
- Heating device, and
- Some tincture of Iodine.
Method
- If you’re not buying pre-crushed grains (and if you are, you’re getting a bit advanced for this guide), grind your grain in a grain mill according to the recipe specifications,
- Place the strainer firmly in the mash container so that the malt on the bottom doesn’t get burned,
- Heat your water (2-5L per kg of grain) according to required recipe temperature,
- Add grains gently, stirring right afterwards to ensure they start to submerge and all have been covered,
- Check the temperature, put the lid on, and relax for an hour,
- Start heating some sparging water (sparging is a fancy word for rinsing) to roughly 93℃. You should need your initial mount of water plus 20%,
- ake out a small amount of wort and put in a drop of tincture. If it goes red or dissipates rapidly, then continue, otherwise recheck your settings and check again in 20 minutes. A black spot of iodine implies that you haven’t quite converted the starch yet,
- Get ready to drain the wort very slowly from the grains into the kettle by turning on the tun’s valve,
- Sparge away! Rinse the wort in your mash tun at about the same speed as it drains into the kettle. This can be tricky to do, but that’s the thing about All Grain, it’s a tricky one,
- Stop sparging when you have the same amount of pre-boil wort in your kettle. For a stronger beer, you’ll want a little less.
Now you’ve got your wort. Time to head over to Boiling and ermenting to wrap things up.
Boiling and Fermenting
All four methods should be looking mighty similar about now. You have your wort, and it’s time to turn it into beer.
1) First, boil your wort.
Make sure to get it nice and hot, because we’re about to...
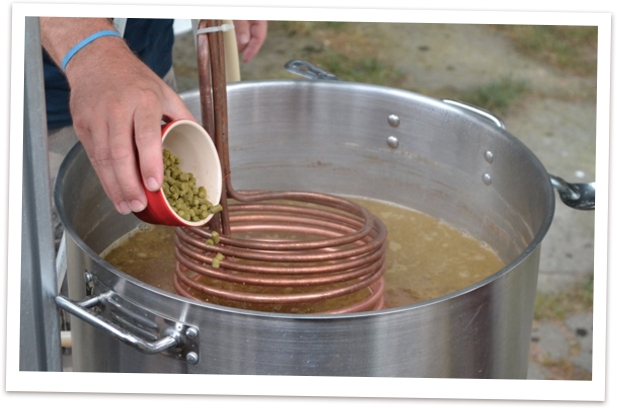
2) Add the hops (or your other bittering agent of choice)
Again, don’t go too crazy aerating that surface. Boil the mixture for at least 60 minutes,
3) Add any flavouring hops after 30 minutes or so. Aroma hops should be done right at the end, in the final 10-15 minutes.
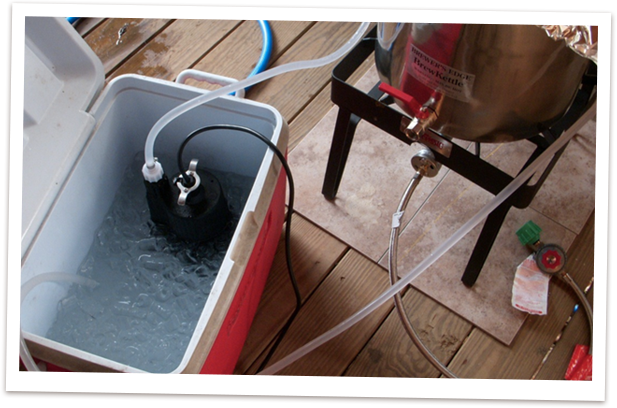
4) Chill out. If you have a Wort Chiller, you can do this quickly and efficiently, but otherwise you’ll be dunking the container into an ice-bath or nestled among some iced bottles for a while in a tub or basin. The quicker it chills, the better the result,
5) Pour the chilled wort into your fermenting container(s) when it hits 27℃ or lower
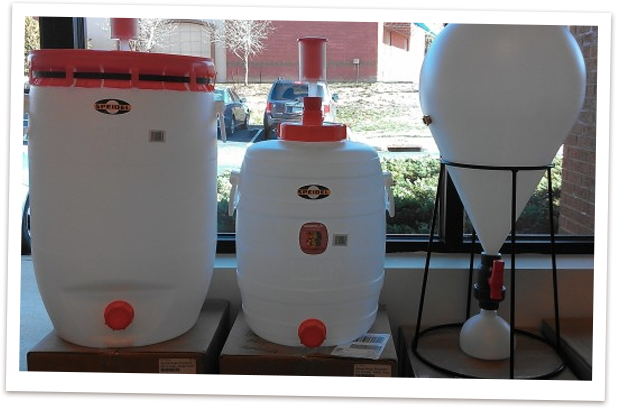
A few homebrew fermenting containers; these could be virtually anything - ARD
Garage Doors (Image URL)
6) Now you can get on aerating the wort. Close up your fermenter and shake the dang thing around for a few minutes, aerating the utter bajeesus out of it. Go nuts; it’s fun!

7) Add the yeast, put the stopper and airlock in the fermenting container, and leave it to ferment (check your recipe, but it’s usually around 1-2 weeks). Store in a cool area like a garage or basement, but make sure it’s insulated if you live in a high or low temperature environment.

Once your brew is fermented, add some carbonating sugar just before bottling, bottle with a capper, and leave it a little while longer to get bubbly. Serve, and enjoy!
Tips and tricks
- Try experimenting with different types of malt (Sorghum, etc) for variance in flavour. Check out our recipes down below for a few ideas!
- Insulation is important is high or low temperatures -- that thermometer is there for a reason, beer taste is subject to changes in the atmosphere during brewing.
- Try boiling your water to just over the temperature required for the boiling process (by about one degree) to allow for heat transfer and cooling from adding ingredients.
- If your Mash Tun temperature is dropping significantly and consistently (1-2℃ per brew), you need to insulate better. Get a better pot, or put some towels or blankets around it (not when it’s being heated).
- Sanitise your stuff. Beer uses raw ingredients and ferments them. Don’t be stupid, clean up after yourself or you’ll end up sick to your stomach on more than a hangover. Don’t scrub plastic fermentors, either, since you’ll end up with bacterial bleed.
Recipes
Here are a couple of ideas that we like, just to get you thinking. Once you think you’ve got the hang of it, start creating your own!
All Grain
- Pumpkin Beer - An old American favorite, though I personally know a couple of NSW brewers bringing out a couple. Brilliantly cloved and spicy.
- Loon Lake Smoked Porter - An award winning smoked porter. Perfectly malty, and good alongside pizza or whiskey.
- Epic Pale Ale Clone - It’s a pale ale. I mean, it’s a good pale ale, but you’ll be getting what it says on the tin.
- Cooper’s Pale Ale Clone - If you’re looking for a faux-Aus beer clone, this one will give you an approximation of the light taste of Coopers.
Brew in a Bag
- German Hefeweizen - A simple beer for a simple brewing method. A Wheat Beer with some subtle fruity flavours.
- 3 Floyd’s Zombie Dust Clone - Loadsa hops, grapefruit, and mango taste. Sweet and fulfilling.
- A Toast to Your Health Nut Brown - A nutty Northern English Brown Ale. Personal recommendation: tone down the bittering hops for this a little.
Extract
- Some Australian Stouts (collection) - Dockside is a particularly nice one here, but they’re all worth a try.
- JT’S Honey Wheat Ale - Another Americana. Lightly prepared with the no-boil technique, and as bitter as you require it to be.
- London Cream Ale - Smoother than smooth. A hearty ale from Blighty.
Shoutouts to the Homebrew Community
- Home Brew Manual
- Home Brew Manual ref 1
- Home Brew Manual ref 2
- Keystone Home Brew
- The Hop Review
- Home Brew Manual ref 3
- Home Brew Manual ref 4
- Home Brew Manual ref 5
- Beer Dude
- Homebrewing
- Wiki How
- Brew Your Own ref 1
- Brew Your Own ref 2
- Brew Your Own ref 3
- Brew Your Own ref 4
- Brew Your Own ref 5
- Home Brew Talk
- Home Brew Manual ref 6