Latest Posts
A Step By Step Guide To Roller Door Installation

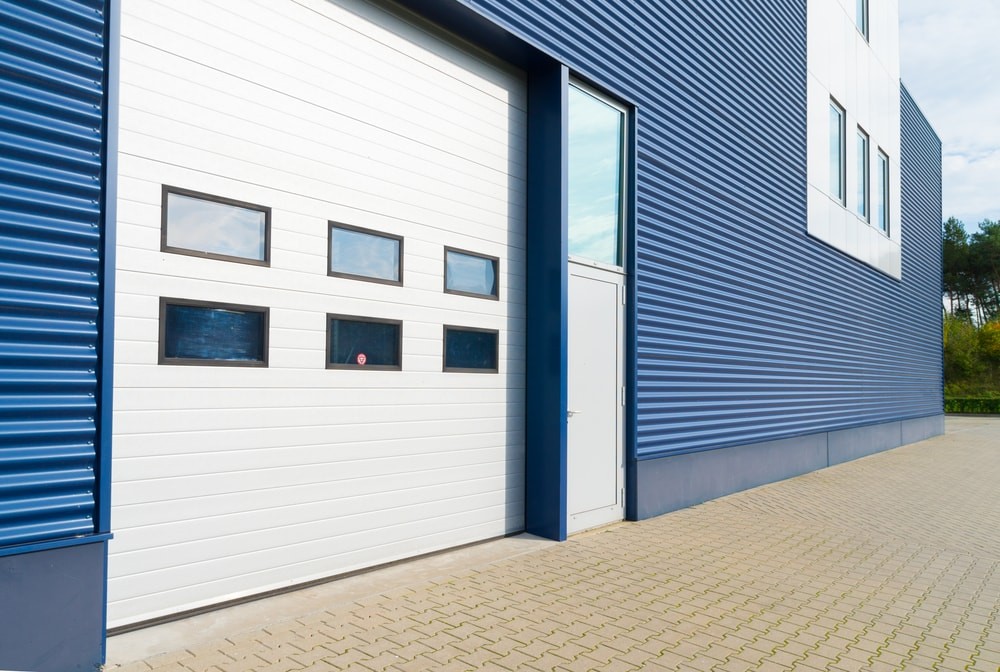
Installing a new roller door on an existing garage, workshop or outbuilding will improve security, add value and provide easy access at the touch of a button. But to ensure it is safe and operates smoothly, it’s crucial that your new door is installed correctly. So if DIY is not your thing, it would be wise to consider having your roller door professionally installed.
This guide is for those who know their spirit level from their set square and who want to save some money by installing their roller door themselves. It is however only a guide and you should refer to your roller doors installation manual for specifications and measurements. These can often vary depending on the brand and type of roller door you have purchased.
Safety checklist
A roller door is a large, heavy item with a powerful spring in it, so safety is paramount when installing your door. Before you begin, check that;
- The structure you plan to install the door on is strong enough to support the weight of the door.
- You have the correct fasteners for the type of structure you are mounting the door on (i.e. brick, timber, concrete or steel).
- There is sufficient clearance room above the doorway to house for the rolled up door and fittings.
- The surface above the doorway where the door will be fitted is flush and smooth, free from any protrusions.
- There is enough room on each side of the doorway for the tracks.
- The work area under the door is clear and safe, with appropriate signage if in a public area.
- You and anyone assisting you are wearing appropriate safety gear (i.e. boots, gloves, safety goggles etc).
Tools checklist

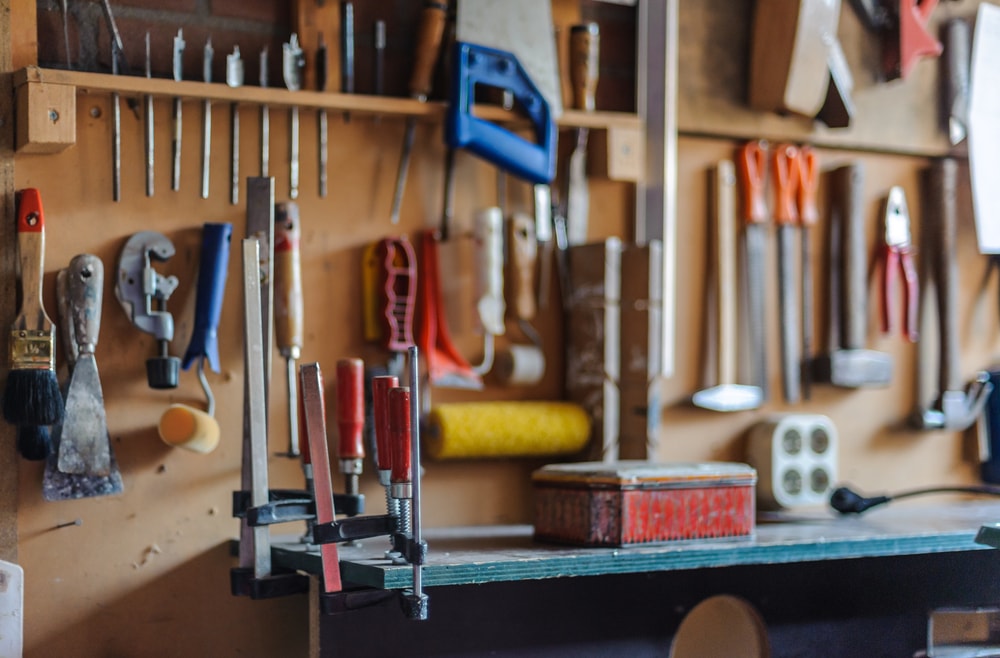
To install your roller door correctly you will need to have the following tools at hand;
- 2 step ladders – so you and your assistant can lift the door onto the mounting brackets
- A laser level – to ensure the brackets are exactly level with one another on each side of the door
- A spirit level – to ensure the door is exactly level once installed
- A pipe wrench – to adjust the roller door spring
- A soft wood chock approximately 400mm long
- A measuring tape
- A marker pen
- A power drill & drill bits – to drill the holes to mount the brackets
- A socket wrench – to bolt the brackets to the wall.
Installation
Step 1 – Brackets
- 1. Measure and mark the door width on each side of the doorway, adding 50mm for the inside line of the bracket.
- 2. Hold the bracket and mark three hole positions. Then drill the holes and bolt the bracket into position.
- 3. Use the laser level to mark the height of the second bracket on the other side of the doorway.
- 4. Employing safe lifting techniques, lift the rolled up door onto the brackets, facing so that it will roll down the front side.
- 5. Make sure the floating axle is free and centred by rotating it a quarter turn in either direction then releasing. Once the centre is found, make a clear mark on the axle against the hub for future reference.
- 6. Loosely fit the supplied saddle, U bolts, nuts, washers and keepers.
- 7. Centre the door with the opening, and the axle with the door. Do this by lining up the previous marks with the hub before lifting the axle and door together until centred with the opening.
Step 2 - Springs
- 1. Firmly secure the axle to the brackets with the U bolts and lock tightly with washers and nuts (considerable tension will be applied when the spring is tensioned to ensure they are well tightened).
- 2. Apply tension to the spring by rotating the door two times in a forward direction (the amount of tension required for best operation will vary with individual doors).
- 3. Hold the door while your assistant cuts the plastic straps (hold firmly to prevent loss of tension).
- 4. Pull the door curtain down slowly and carefully position the wooden chock, which will help to hold the door until the tracks are fitted.
Step 3 - Tracks
- 1. Pull the door down and check that it overlaps equally on both sides of the doorway.
- 2. Slide the first track over the edge of one side of the door and fix the track loosely to the wall with the fasteners supplied.
- 3. Repeat on the other edge of the door and use the spirit level to ensure both tracks are absolutely vertical.
- 4. Allow the door to travel up and down and check for correct tension adjusting track positions as needed. Then tighten both tracks securely.
- 5. Fit the handle to the outside of the door using the fasteners provided.
Troubleshooting
- If the roller door is hard to operate, check to see whether it is jamming on one of the tracks and adjust the track accordingly.
- If the door is hard to lift or lower, adjust the spring tension to add more lift (door will tend to drop) or decrease lift (door will tend to rise).
- If the door rolls up crooked or telescopes, check that the brackets are level with each other and that the axle is centralised.
- If the door becomes hard to operate over time, check that the tracks are clean and free from oil and that the weather seal is not impeding movement.
Maintenance
A modern roller door is made with highly durable materials and finishes and will require only minimal routine maintenance. Every six months or so;
- Wash the surface of the door curtain with a soft cloth or sponge and mild solution of soap or detergent in warm water.
- Thoroughly rinse with clean water immediately after cleaning to remove all traces of detergent.
- Conduct a visual inspection of brackets, springs, tracks, fasteners, cables and weather seal for signs of wear and tear.
- Lubricate the springs with grease and oil, excluding the locking mechanism to ensure proper functioning
- Do not lubricate the tracks, but simply clean them from time to time with spirit cleaner.
- Perform a balance test by fully closing the door, then lifting it to waist height, where it should remain. If it doesn’t, the spring may need rebalancing.
A final word on spring safety
Garage door springs are very tightly wound, meaning they are under a lot of tension. If a spring breaks or an unsuspecting DIYer tries to adjust one without knowing what they are doing, it can cause serious injury and even death. Spring maintenance and adjustment is therefore one job best left to the experts.
If re-tensioning the spring is something you feel you are capable of doing yourself however, or if you have no access to expert servicing of your roller door, the following procedure should be followed carefully and exactly;
- Tie two ropes around the door roll (one at each end) as a safety precaution.
- With someone on a ladder at each end of the door, grip the axle firmly with a large pipe wrench (at least 450mm long).
- Loosen the U bolt nuts at both ends and make sure you keep a firm grip on the pipe wrench.
- Rotate the axle in the desired direction (to tension or loosen).
- Re-tighten the U bolts and release the pipe wrench.
- Test and repeat if further adjustment is required.
Your new door awaits
Now that you’re as well-informed as you’ll ever be, it’s time to get installing. Take your pick from the selection available on the ARD Garage Doors website and either hire a professional or take on the challenge for yourself.
