Latest Posts
Unique Ways To Repurpose Old Garage Doors
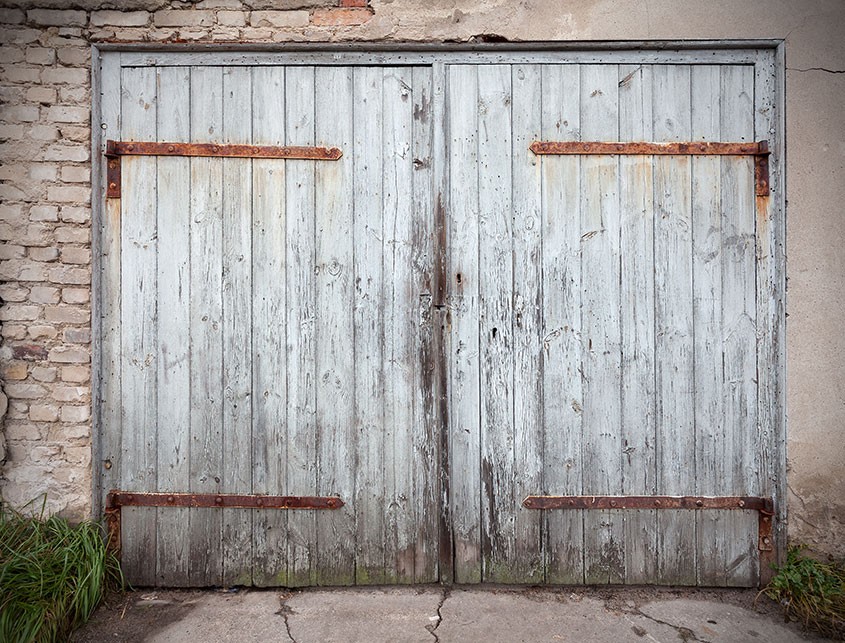
Garage doors don’t decompose easily, but they’re great for new projects. There are multitudes of ways you can repurpose that old timber garage door, rather than sending it to the tip. Here are some examples.
1. Create a unique dining table
Now, this one requires a bit of work, but the end result is fantastic. Often, wooden garage doors are made with quite high-quality timber, but sometimes they’ll need replacing (due to wear and tear or just for a simple change). Why not use it in your dining room? The first thing you’re going to have to do is sand and level the door. Garage doors get dirty, both inside and outside. Outside they’ve got nature to contend with and inside, they’ve got exhaust fumes, dirt and dust.
You’ll also have to round out any sharp edges and clean up any rot that has formed due to exposure to the elements. Next, you’ll have to fill in the holes. Purchase the same kind of timber, cut the panels and glue them into the spaces to level the door. Finally, add some stain and then some polyurethane to give the timber a lovely finish. Add some sturdy legs and voila! You’ve got yourself a brand new dining table.
2. Frame it up
Like the dining table, this one does require a bit of sanding, painting and sawing but it’s well-worth it in the end. First, cut out the inside panels so you’re just left with a row of open ‘windows’. You’ll have to sand back the border and either stain it with some timber stain or even paint it your favourite colour. Next, glue some clips to the top of the border; these can be metal clips or coloured clips, whatever takes your fancy. The clips can be used to hold whatever you wish to display in the series of frames, whether it’s artwork by the kids, photos from your most recent holiday or even schedules for the week.
3. Furnish your room
There are loads of ways you can reuse garage doors in bedrooms or living rooms. You can create a sturdy bed head with a bit of sanding and a slap of paint. This one doesn’t even need any levelling, as it’s the panels that create the variation and intrigue. You can also split the garage door into panels and create a room divider or privacy screen. Again, this requires sanding and some paint, but then all you need to do is cut the door into even pieces, often down the separating borders. Paint each panel individually and then attach them to each other using hinges. This means it can be shaped in whichever way is needed, depending on the room it’s going into. Add some hooks to one side and it can even store some things for you, including scarves, handbags or belts.
4. Signs and numbers
This one requires just a bit of the garage door, perfect for a new house number or if your house has a name, to display it elegantly. Take a panel and cut it to the size you desire. Sand it down; you may even be able to do this by hand, depending on the size of the panel. You can add some detail to the panel, including some moulding strips to create a framed effect or even some trimmings to create a bit of variety. Stain the timber or paint it using your desired colour. You can either make it pop completely, or paint it the same colour as your house so it blends in.
Just remember to seal the wood as well; by sanding it back you’ve removed the sealing and because it’s outdoors, it’s open to the elements. Then simply, add the number and the name if required. You can do this in a number of ways, either by gluing letters on there, painting them or tracing them.
5. Outdoor living
Create a unique outdoor seat by using two middle panels from the old garage door. Cut the two middle panels from the garage door. Whichever one is in better condition, use for the seat. The other one needs to be cut further to act as supports; it’s best to use two supports on the two ends and then at least one in the middle. The great thing about it being outdoors is that the rustic look is perfect. Lightly sand the timber so the surface is smooth. Paint it if you wish or throw some seal on there and a light stain. Attach the supports and throw on some cushions and your outdoor seat is complete.